Desktop Buttons Settings
In your app, go to Desktop > Desktop Buttons
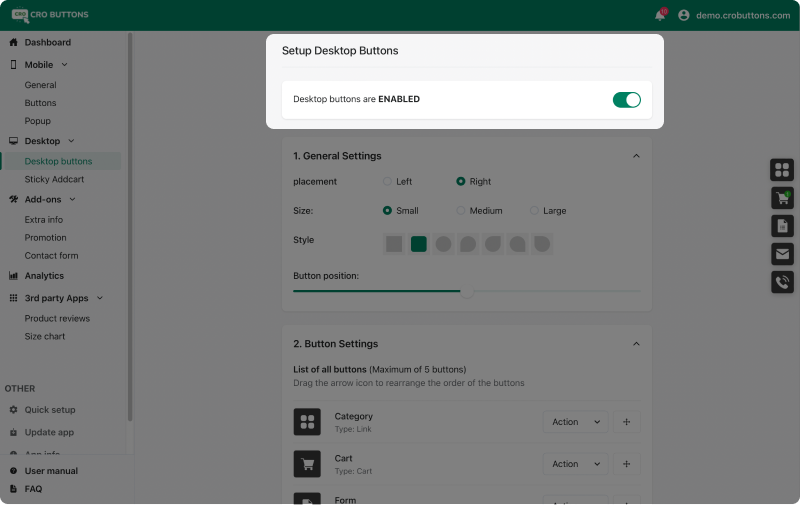
1. Toggle CRO Buttons on Desktop
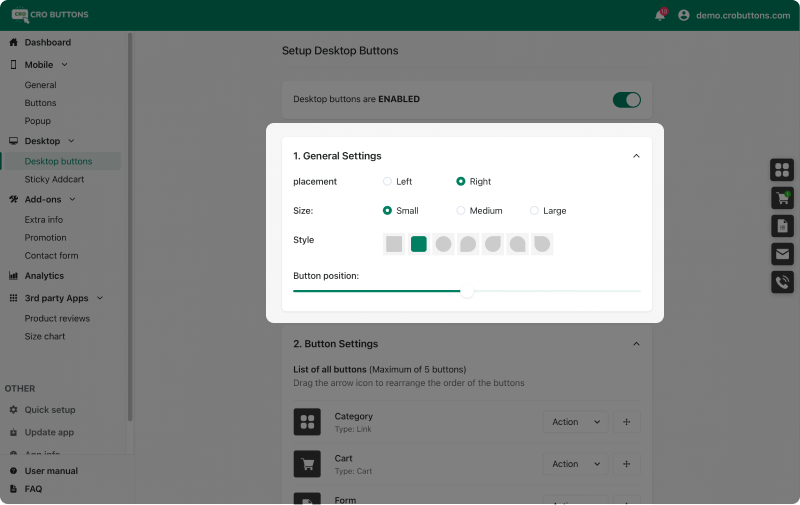
2. General Settings
You can set general settings in this section, include:
- Placement: choose 1 of 2 options (Left or Right)
- Size: choose 1 of 3 options (Small, Medium or Large)
- Style: have 7 options (different button shapes)
- Position: change buttons position by sliding left or right
3. Buttons Settings
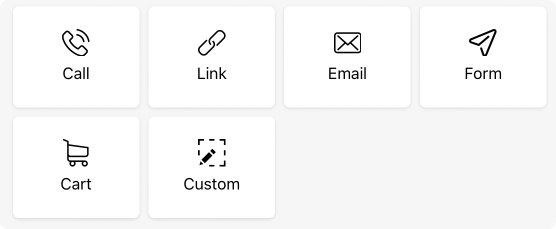
3.1. Types of buttons
There are 6 different types of buttons you can add to your CRO set
- Call
- Link (URL)
- Form
- Cart
- Custom
- Cart can only be created once
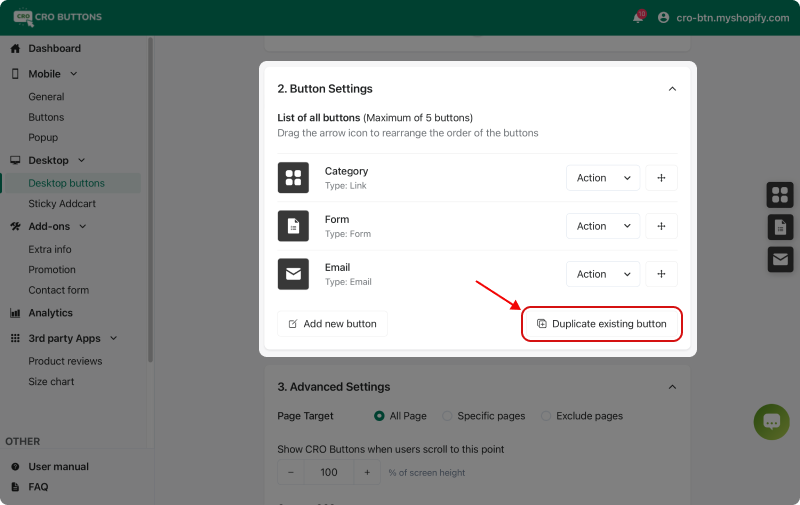
3.2. Setting actions
- Add new button
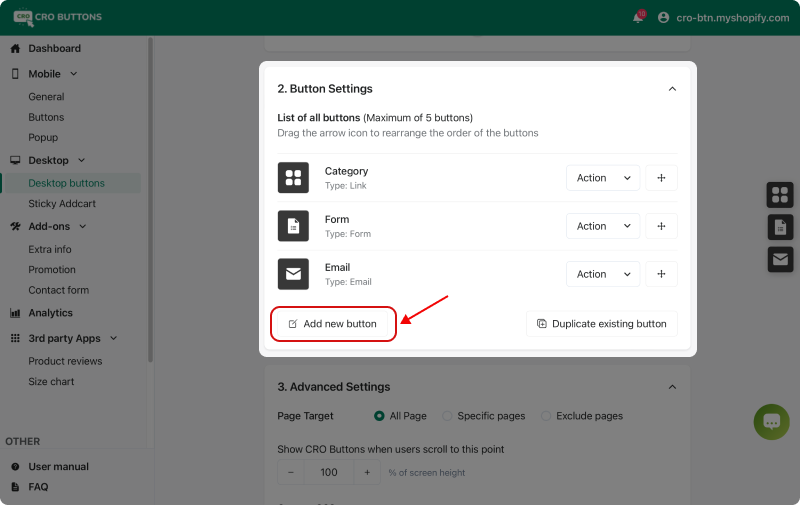
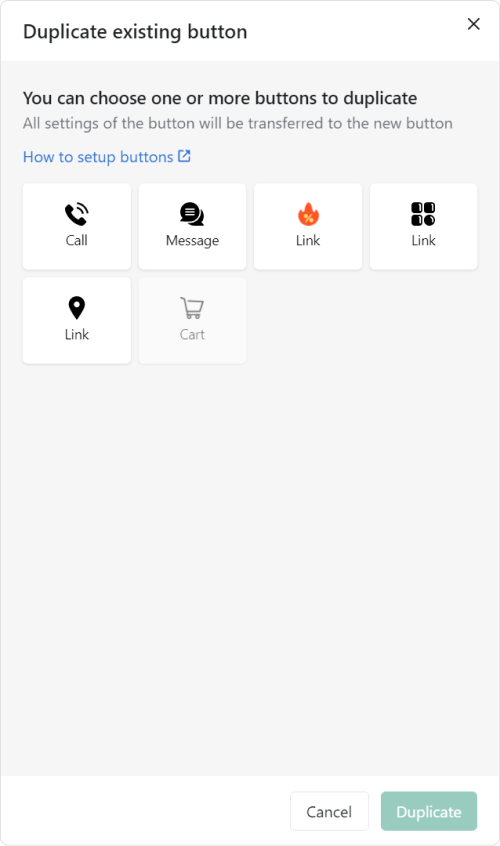
- Duplicate existing button
A list of buttons that can be cloned will appear as shown below. Select one or more buttons and click Duplicate
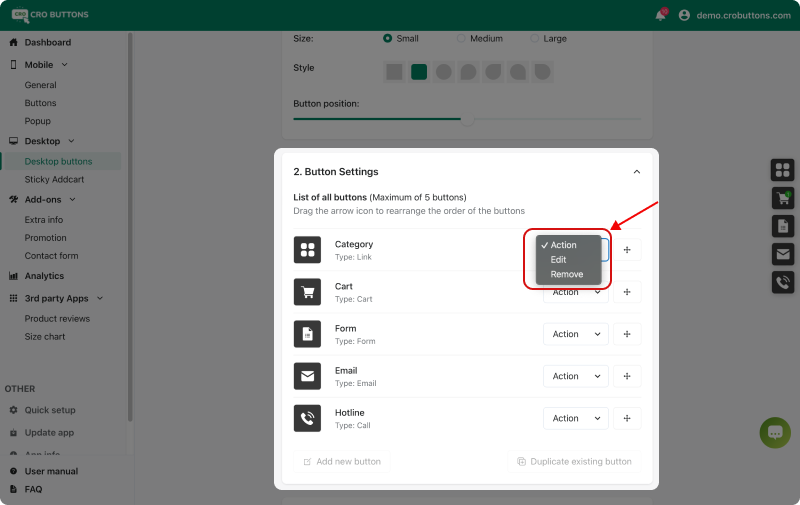
- Edit or remove button
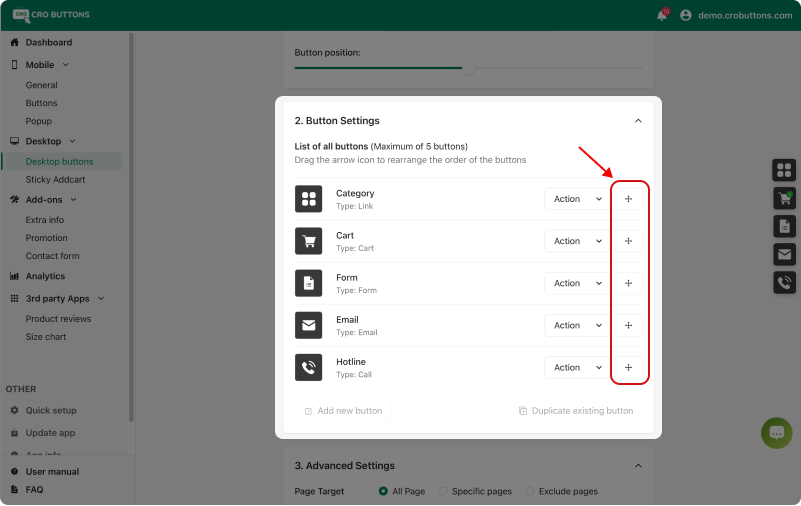
- Reorder buttons
3.3. How to create a button
Go to Desktop > Desktop Buttons > Button Settings > Add New Button > Select Button Type
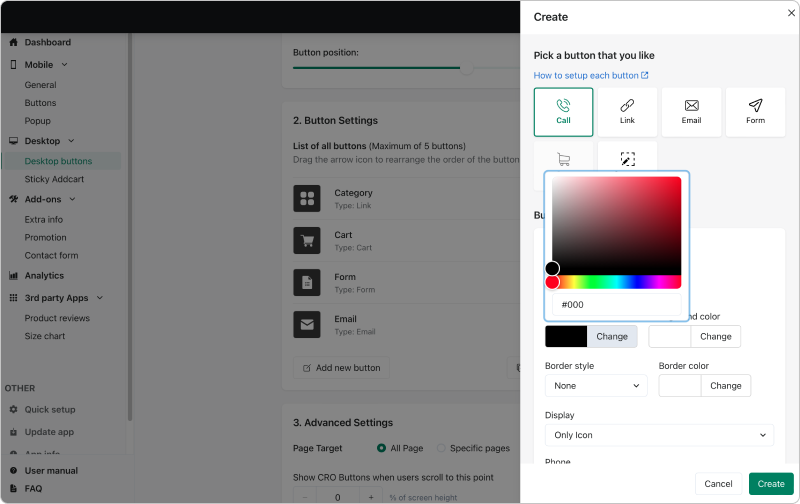
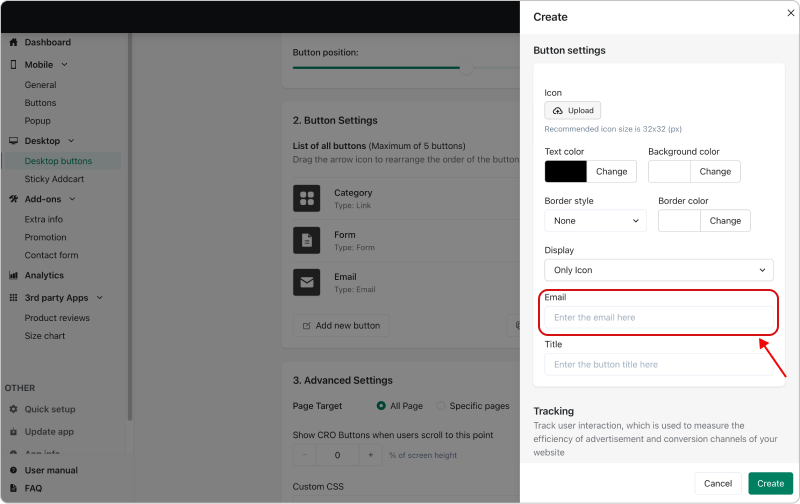
Fill in button information in the "Create" popup
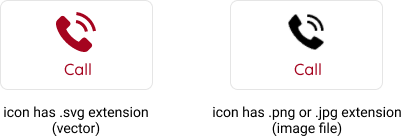
- Icon: supported file formats PNG, JPG, SVG. Recommended icon size is 32x32 (px).
![]()
If the uploaded icon has .svg extension (vector), the color of the icon will match the text color of the button
If the uploaded icon has .png or .jpg extension (image file), the color of the icon will not change
- Text color, Background color, Border color: use the color picker by clicking and dragging your cursor inside the picker area to highlight a color. Also you get the HEX color code value in the field below.
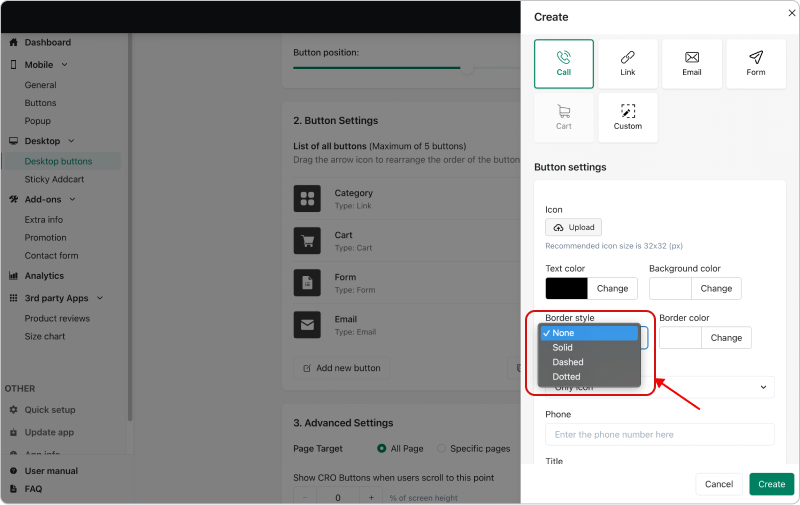
- Border style: choose one style by clicking on the drop-down bar (If button has not border, choose
noneoption)
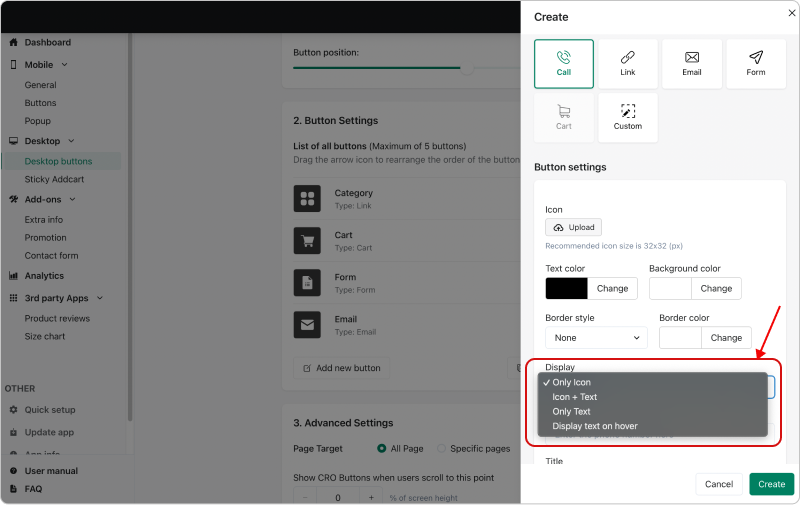
- Display: choose one display by clicking on the drop-down bar.
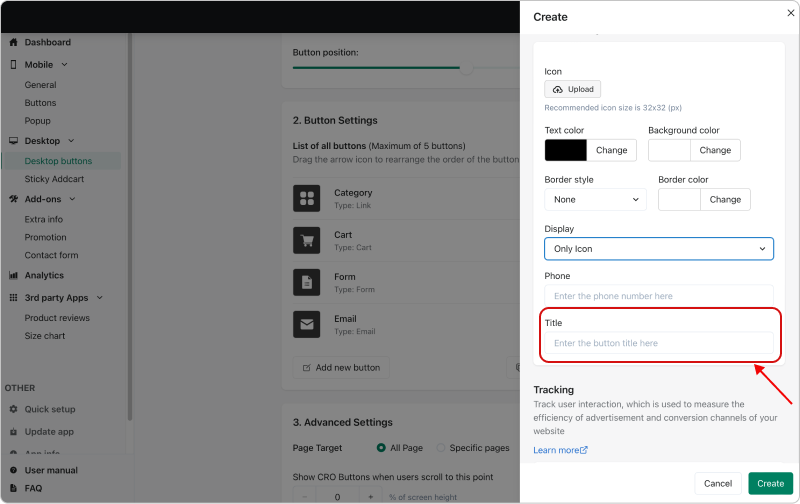
- Title: enter the button title
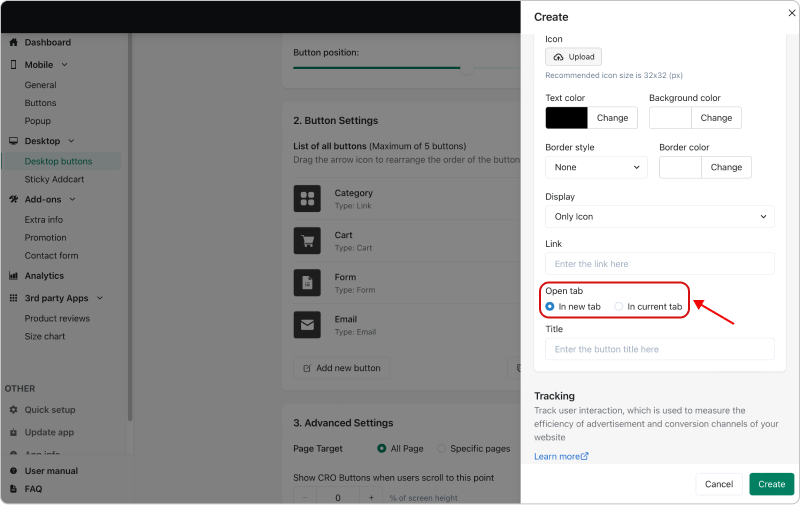
- Open tab (only link type setting): you can choose to open the link in the
current tabor in anew tab
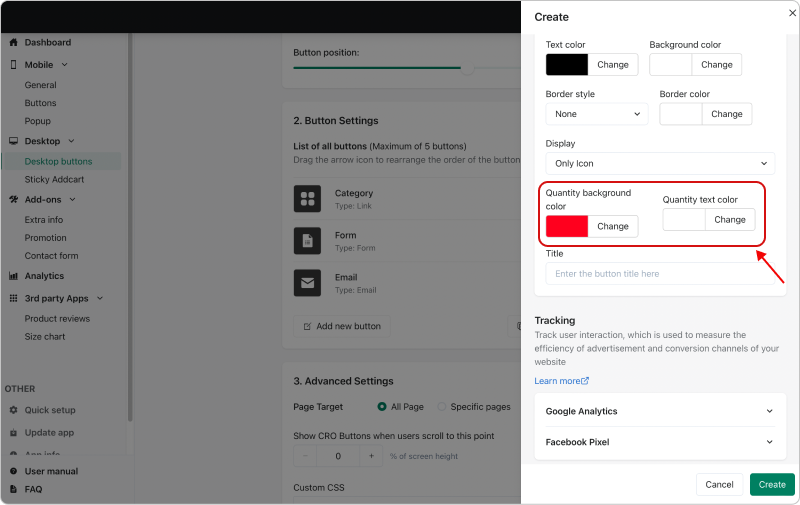
- Quantity background color, Quantity text color (only cart type setting): use the color picker by clicking and dragging your cursor inside the picker area to highlight a color. Also you get the HEX color code value in the fields below.
- Phone (only call type setting): enter the phone number

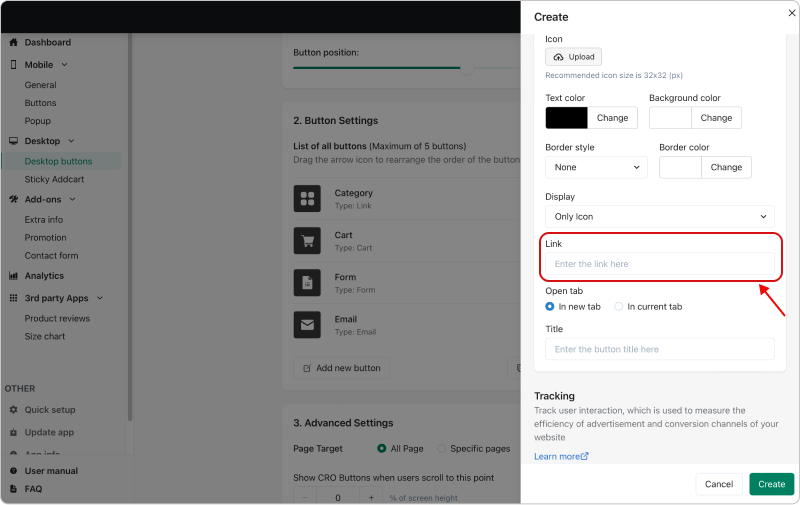
- Link (only link type setting): enter the link
- Email (only email type setting): enter the email to receive customer request.
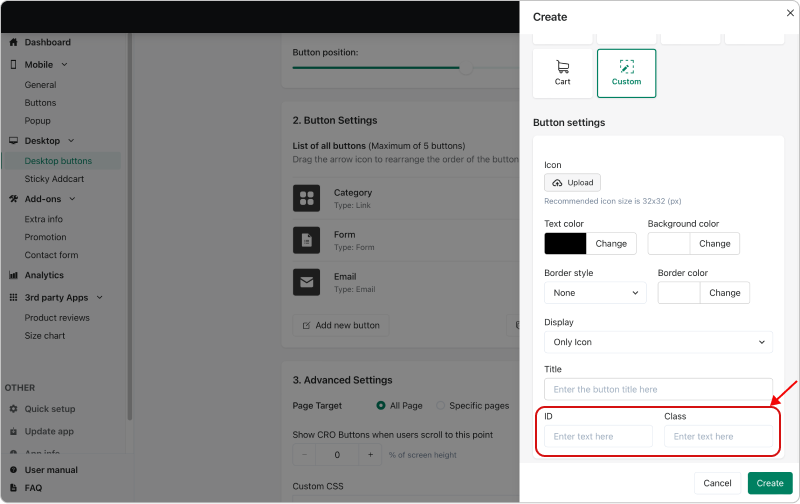
- ID, Class (only custom type setting): enter ID and Class for custom button. It will be called in the script.
For example, you create a custom button. When a customer clicks on this button, it will open a chat popup (Messenger, Livechat, Freshchat, ...)
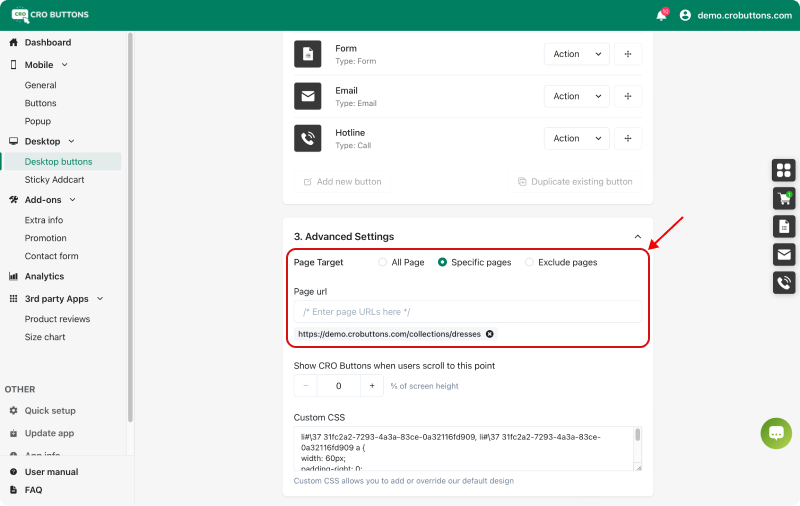
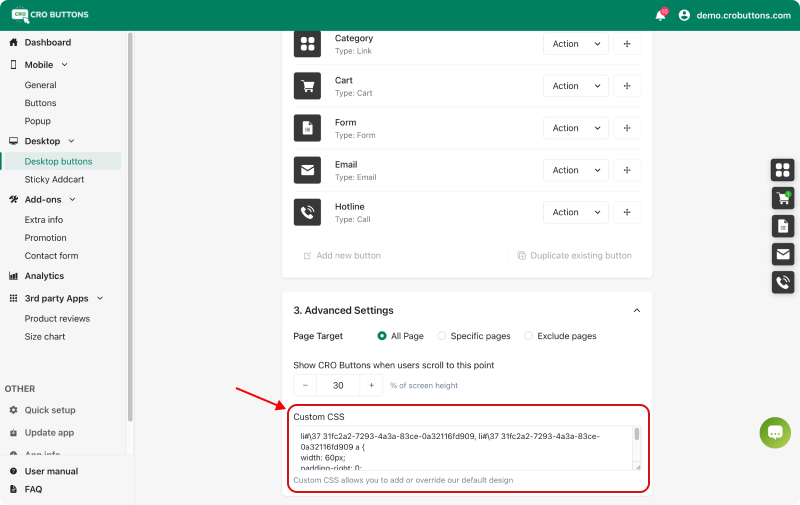
4. Advanced Settings
- Page Target: you can choose 1 of 3 options: All Pages, Specific page, Exclude page (allows entering multiple URLs)
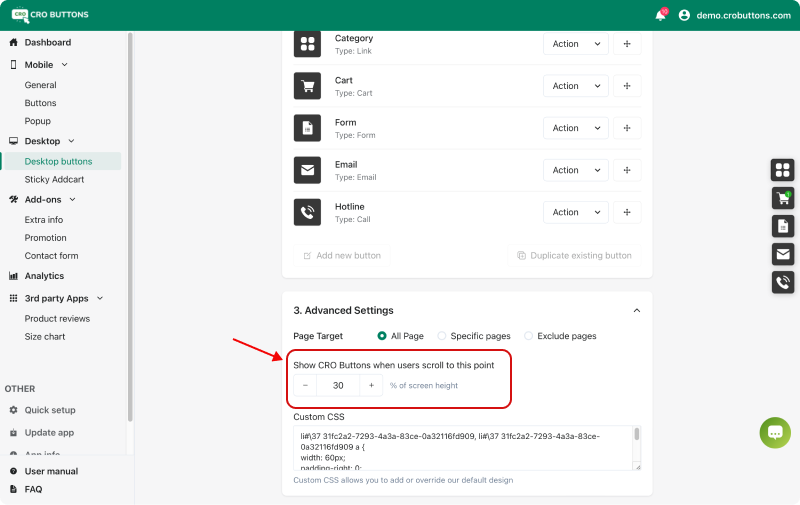
- Show CRO Buttons when users scroll to this point: buttons only visible when the user scrolls down, you can set the position of appearance by increasing or decreasing % of screen height.
- Custom CSS: you can enter more formatting for the button with CSS (Cascading Style Sheets).
After following the tutorial above, you have successfully set up buttons on desktop. If you have any questions during the process, please contact [email protected]